Ultrasonic-Testing
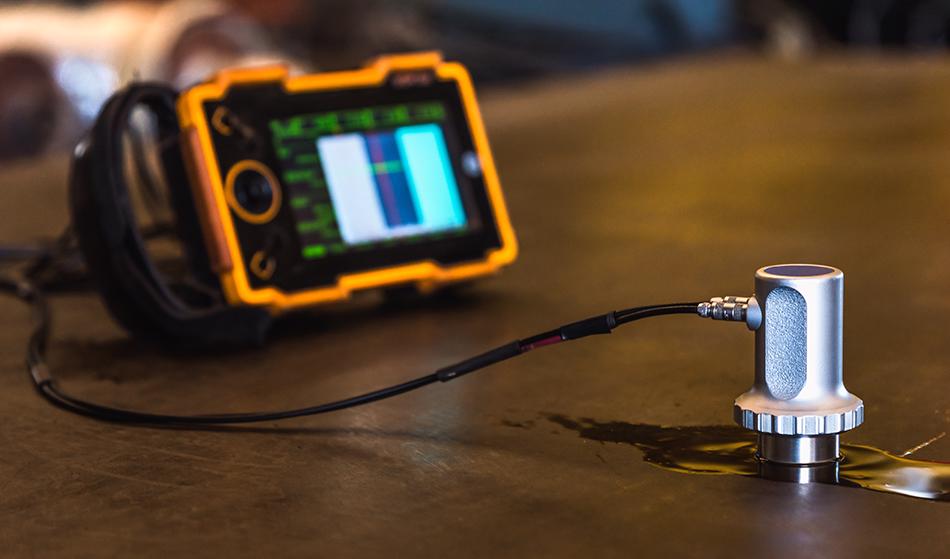
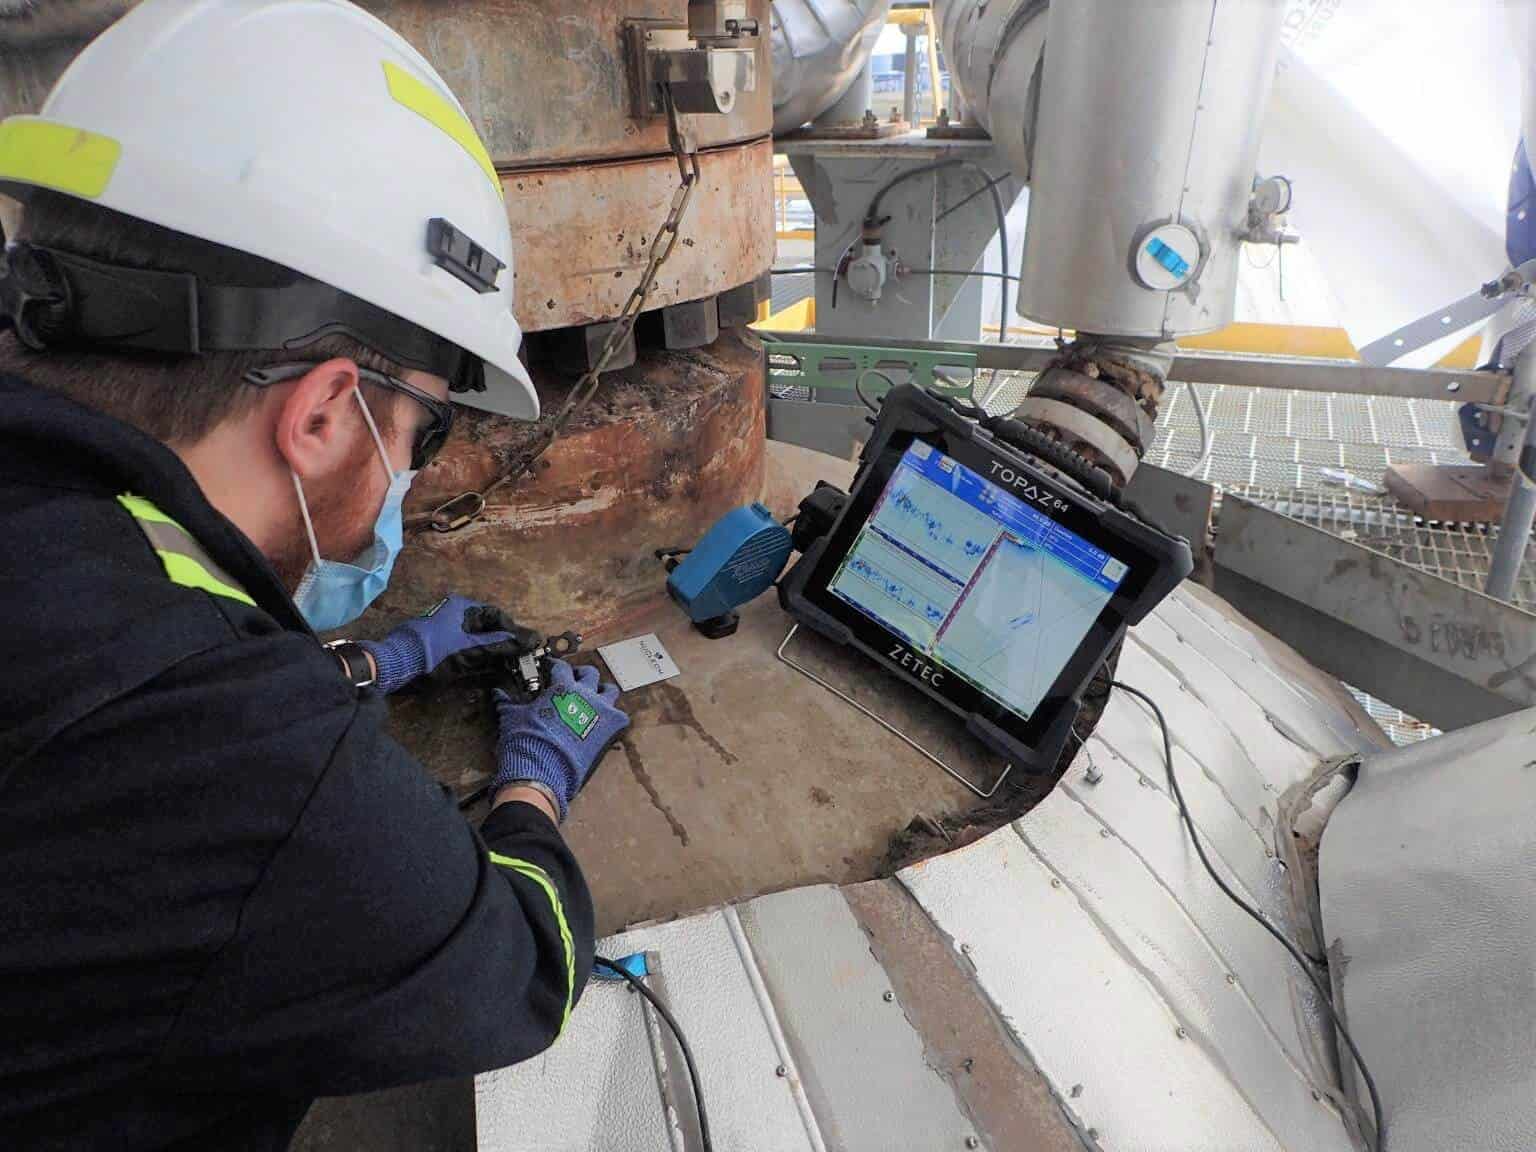
Ultrasonic Testing (UT) uses high frequency sound energy to conduct examinations and make measurements. Ultrasonic inspection can be used for flaw detection/evaluation, dimensional measurements, material characterization, and more.

Ultrasonic equipment is currently available which allow results to be presented in 2D or 3D dimensions. This development provides greater strength to ultrasonic method in its rivalry against radiographic method.
Advantages
The advantages and limitations of ultrasonic methods are as follows:
- Requires only one side accessibility
- Capable of detecting internal defect
- Not hazardous
- Applicable for thickness measurement, detection of discontinuity, and determination of material properties
- Can provide the size of discontinuity detected

- Very sensitive to planar type discontinuity
- Suitable for automation
- Applicable for thick materials
- Equipment are mostly portable and suitable for field inspection
Limitations
- Not capable of detecting defect whose plane is parallel to the direction of sound beam
- Require the use of couplant to enhance sound transmission
- Require calibration blocks and reference standards
- Require highly skillful and experience operator
- Not so reliable for surface and subsurface discontinuity due to interference between initial pulse and signal due to discontinuity.

